So in my post about Boogey's RAINBOW party HERE, I gave you a glimpse of the rainbow cupcakes that I made. Aren't they fun?
They were a big hit with the guests and defintiely came out better than this cupcake "fail" HERE.
Now, I won't claim that these were my original idea - you can do a google or pinterest search for "rainbow cupcakes" and come up with a kajillion blog posts about them. But I will share my process with you and if you get inspired or learn a little something... great! :)
First I mixed up 2 boxes of yellow cake (maybe one of these days I'll try making cake from scratch, but for now, I'm a "from a box" fan!). Then I divided the batter into 6 plastic bags. [Tip: place your bag in a plastic cup to help keep it open and make it easier to fill].


Next I put a little gel color into each bag and kneaded the batter until it was well-mixed.
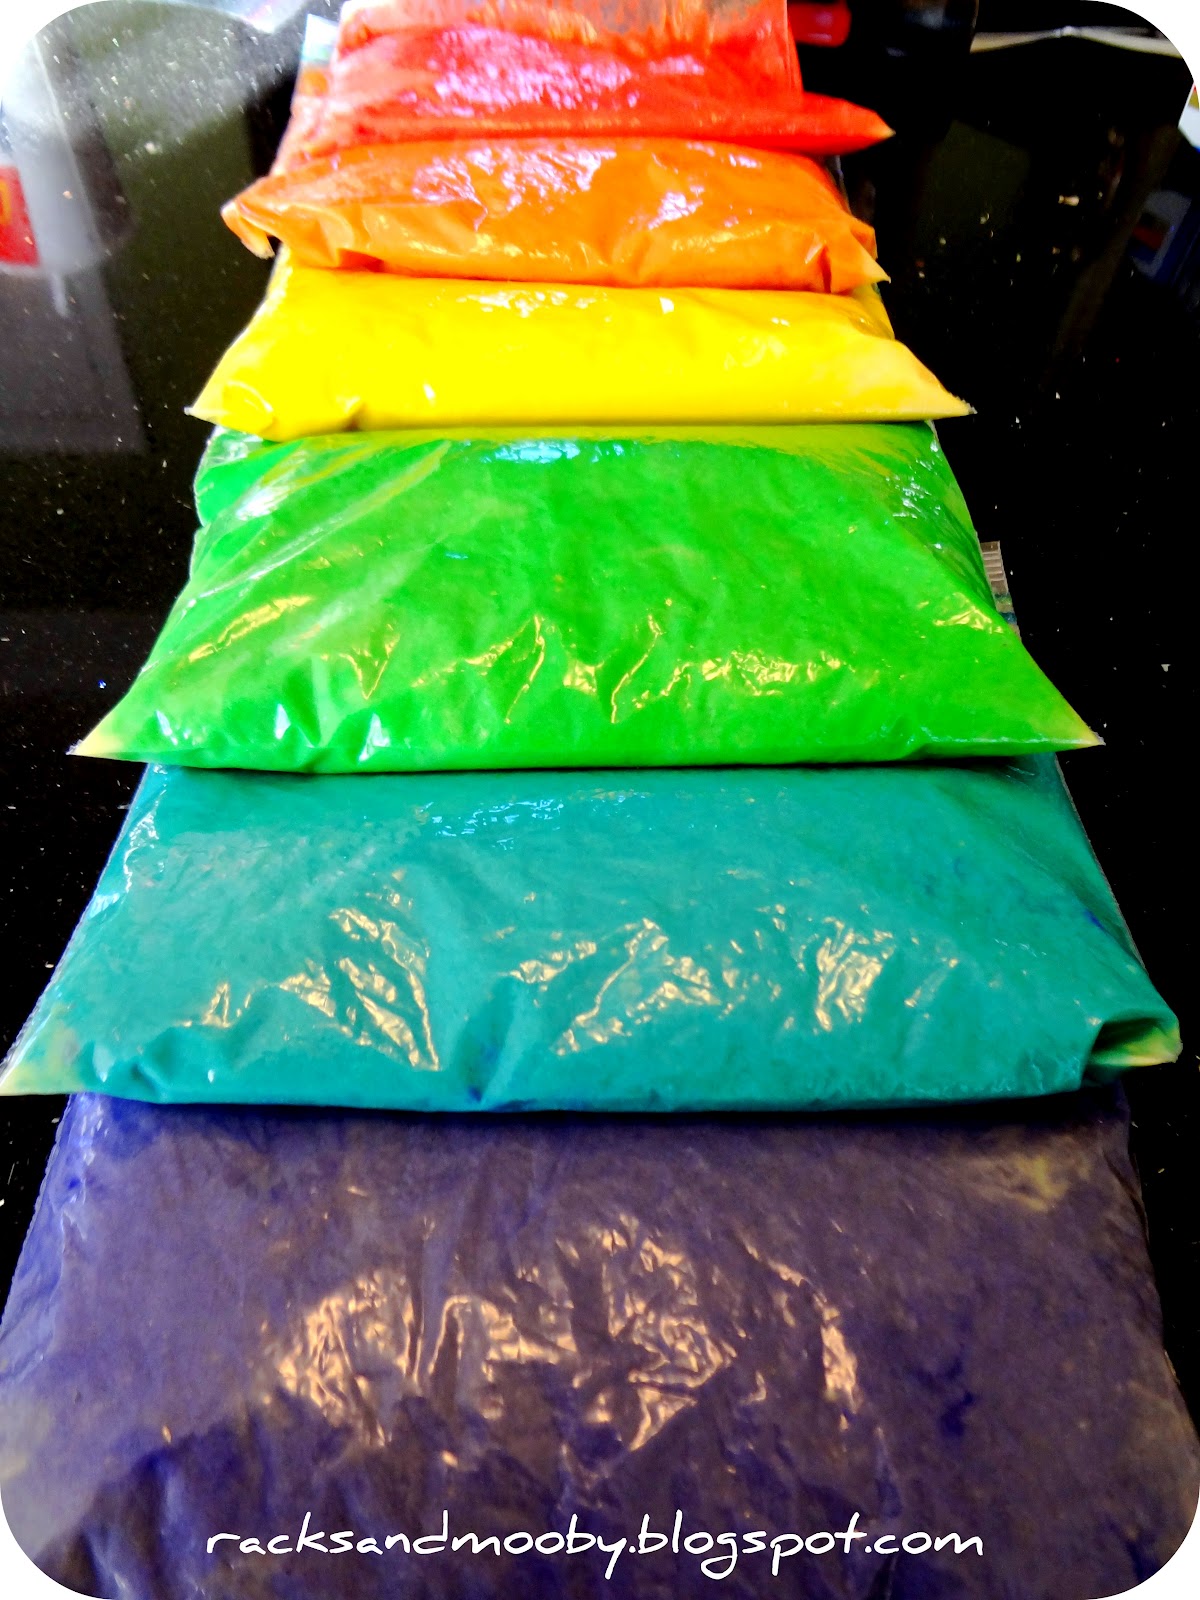
Next, I cut a small corner off the edge of each bag to make it easier to pipe it into the cupcake tins.

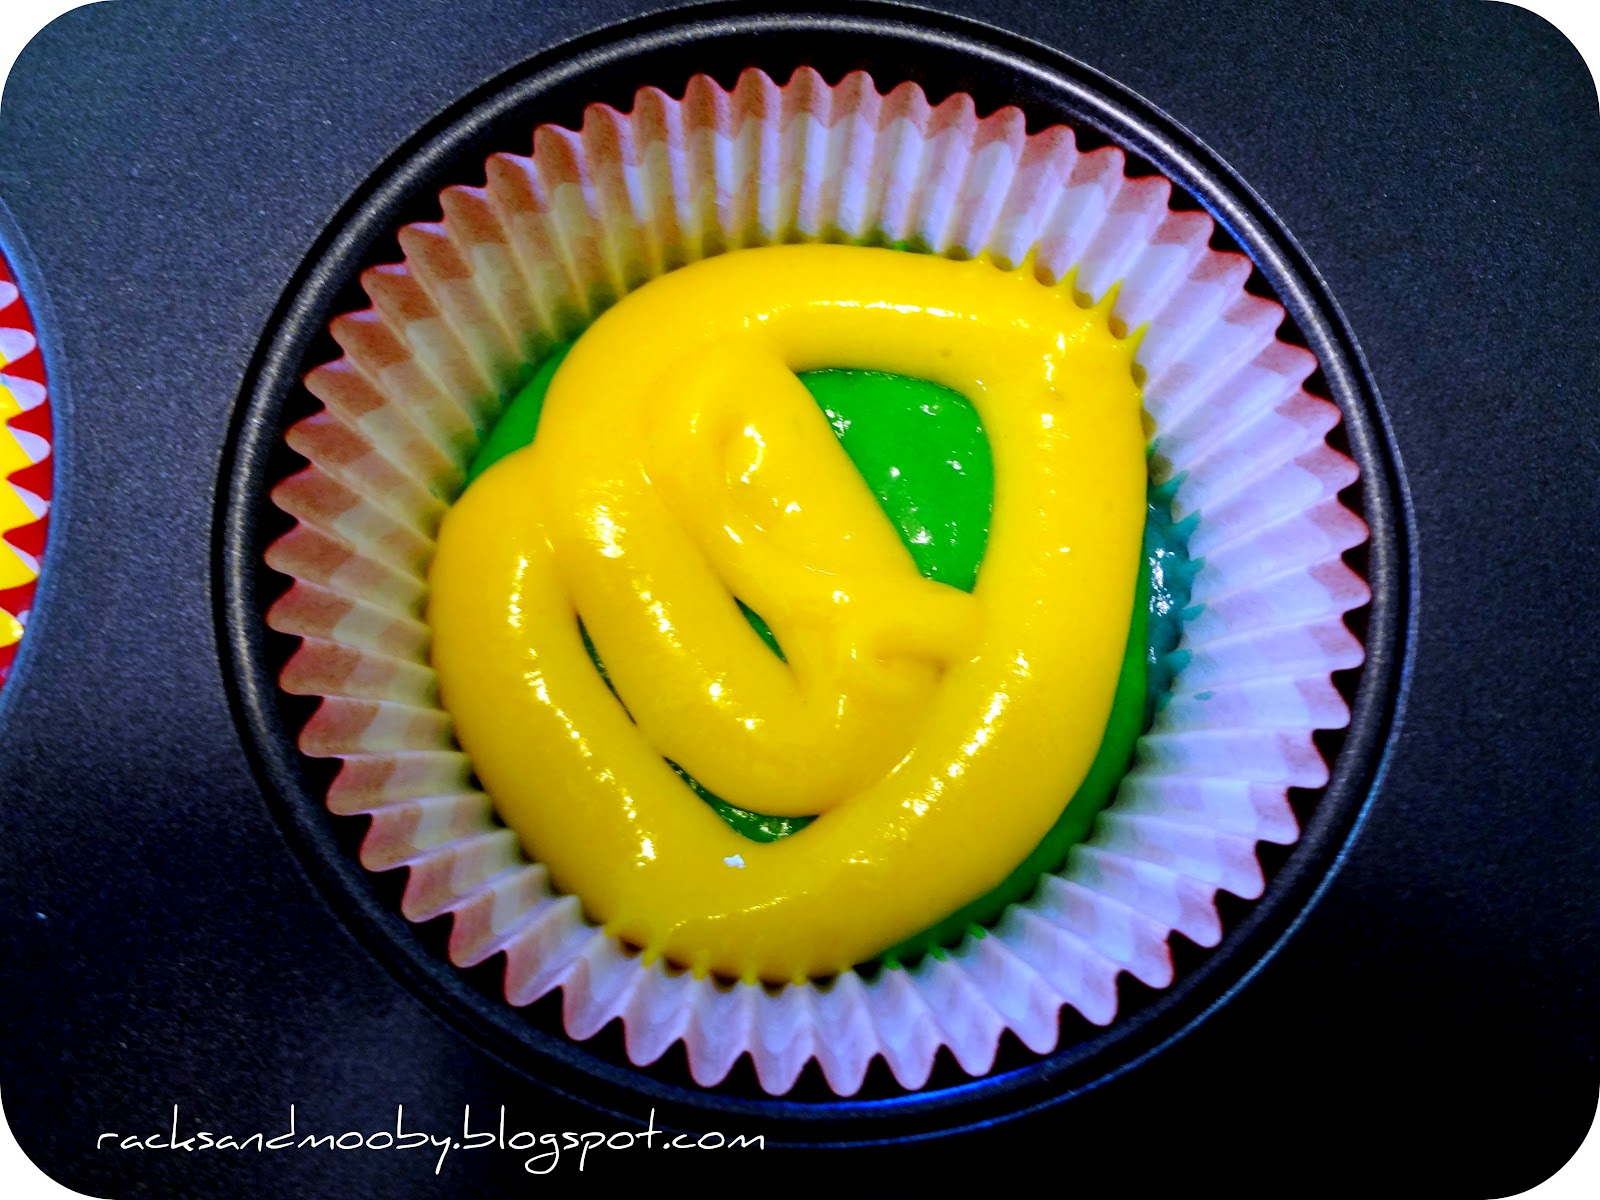
Then I piped a layer of each color into the tins trying to make sure the individually-colored layers were the same thickness
Bake according to the package directions then remove from oven and cool.
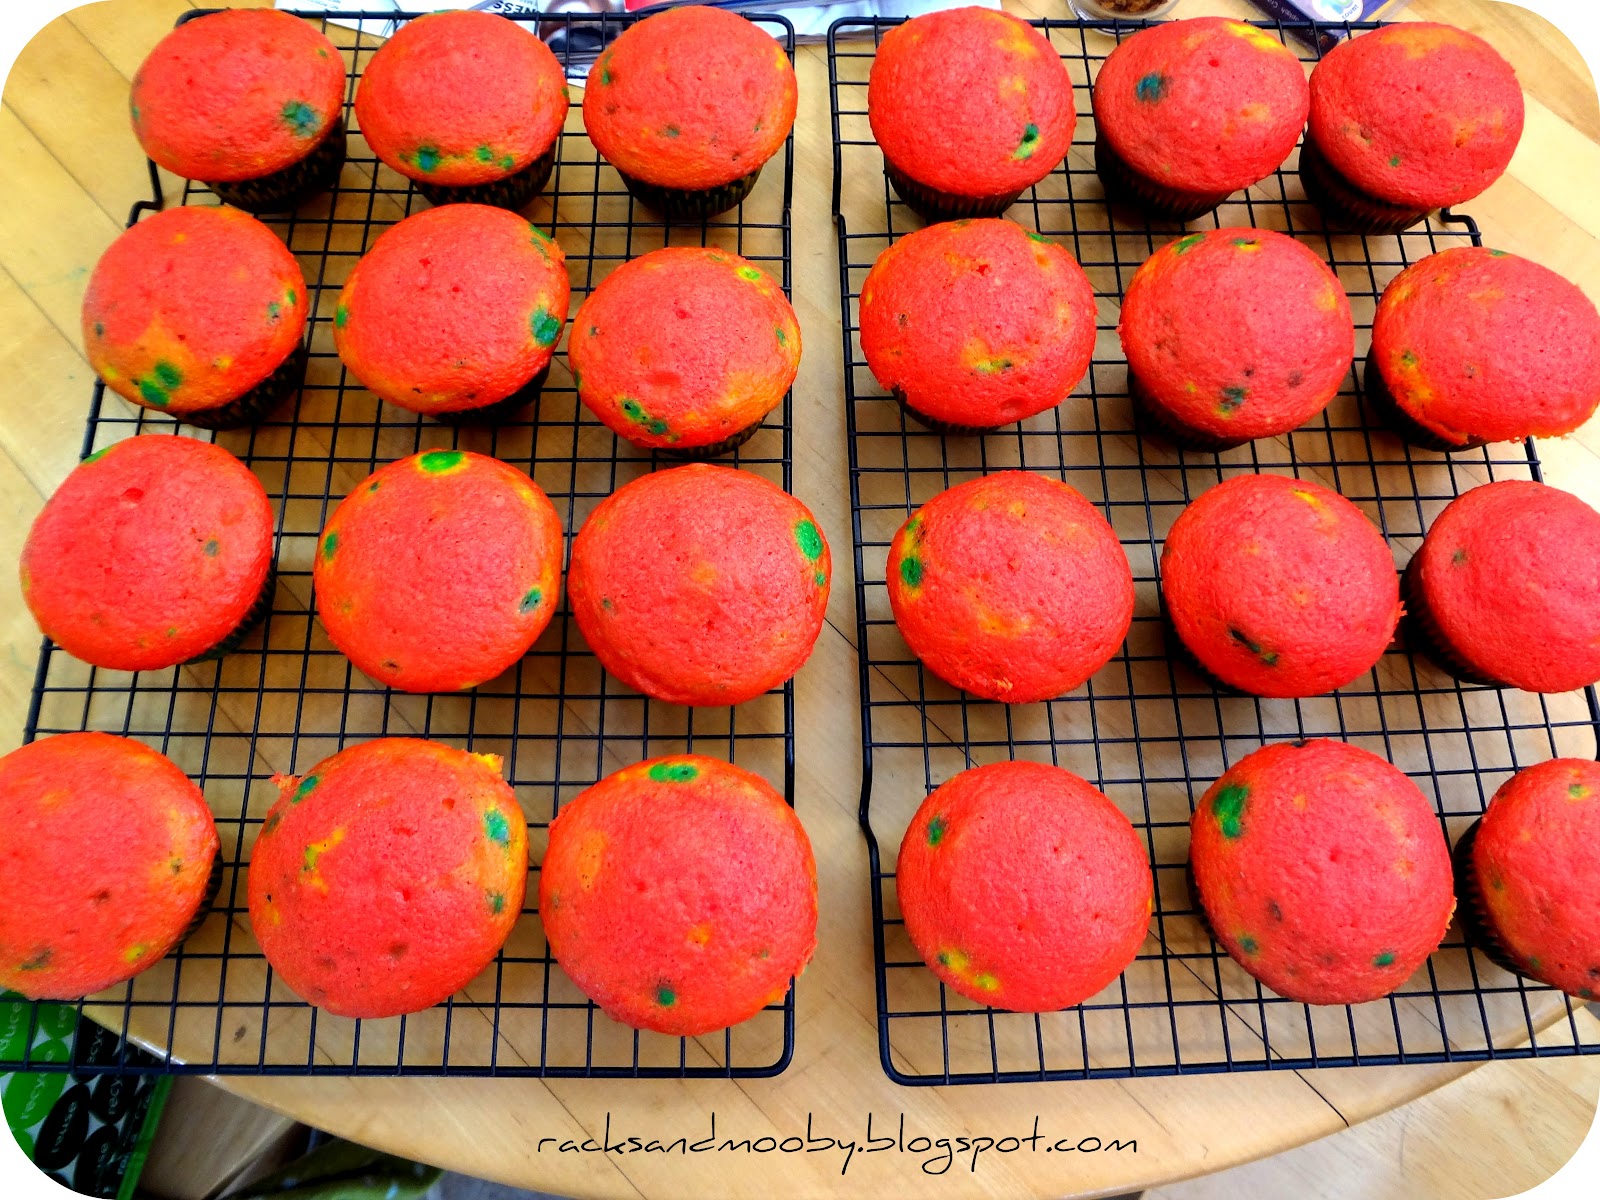
These worked out much better than my semi-fail HERE and I was really pleased with the end result of the rainbow effect. So pretty!

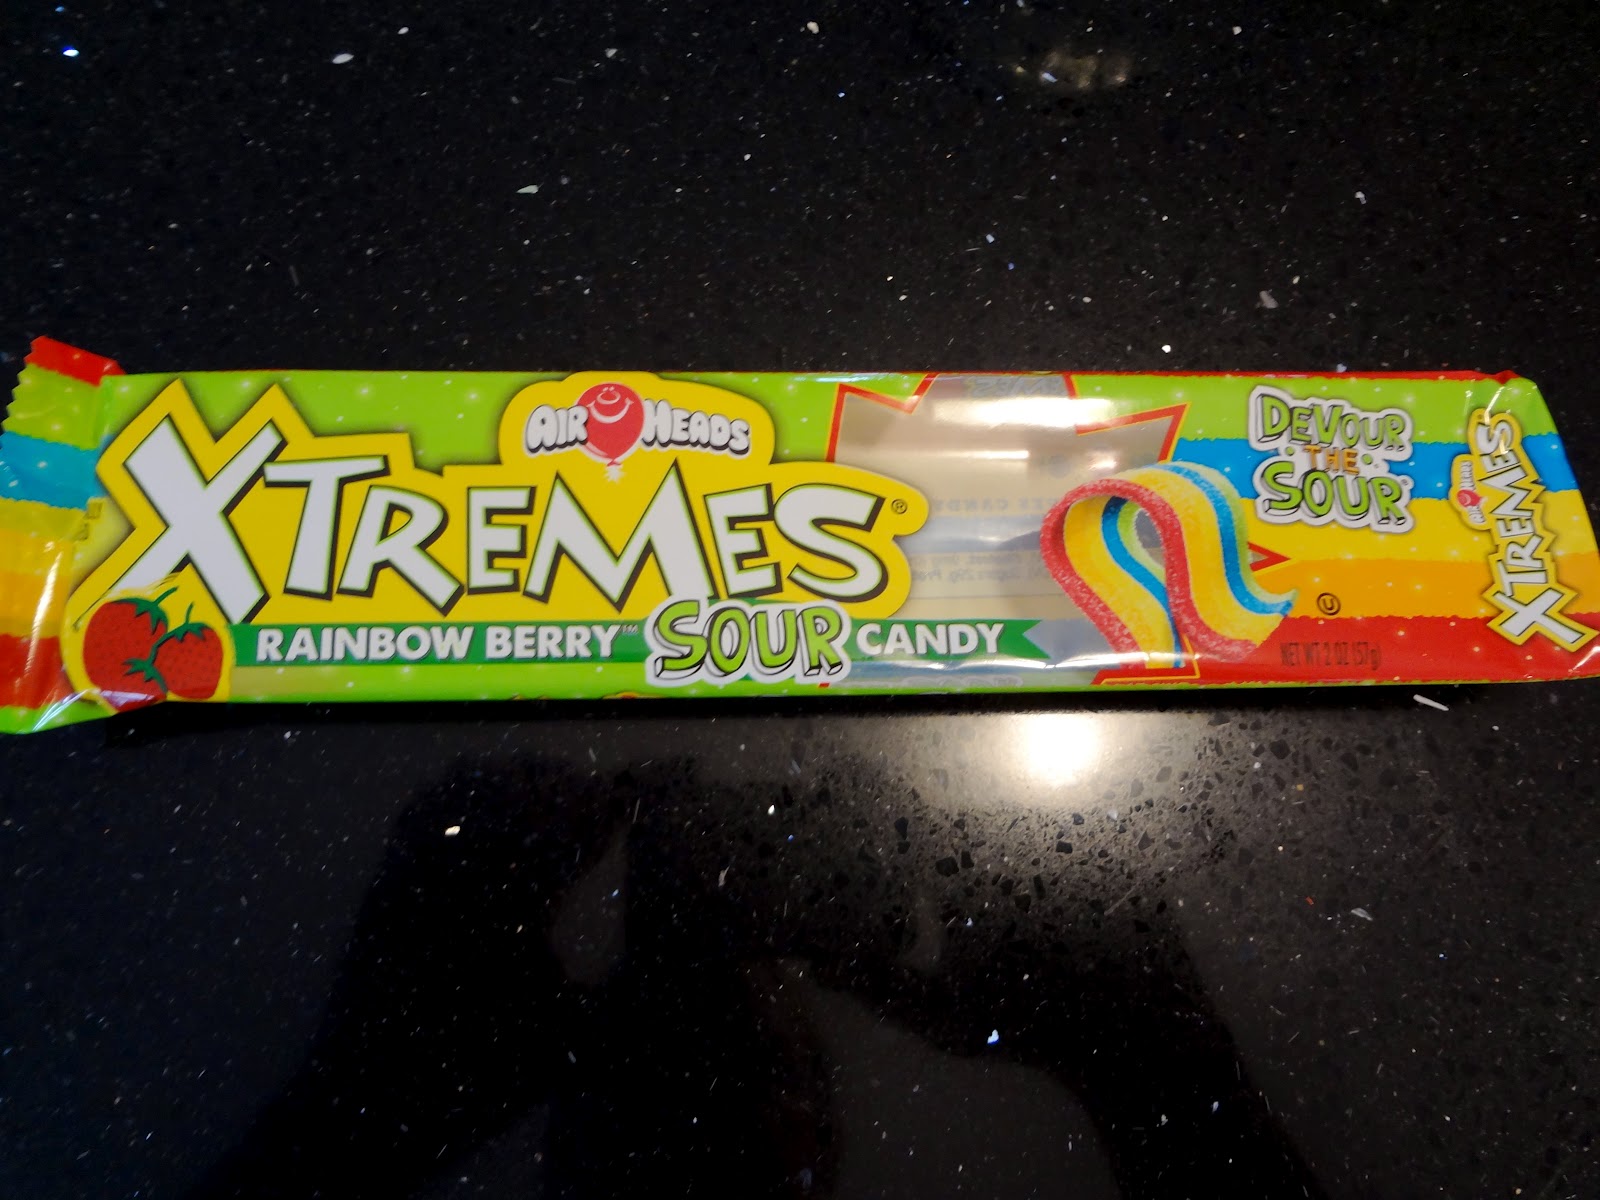
Next I took out my tub 'o' frosting (I used buttercream) and got ready to make my rainbow-adorned sky. {sorry no pictures of the process, but it isn't too difficult to figure out}. First, I reserved a small amount of the white frosting in a plastic bag to use later for my "clouds". Then I colored the remaining amount blue to simulate the sky and spread it on top of each cupcake. Next I applied the rainbows! For these, I bought a package of Airheads Extremes in "rainbow berry" flavor - they're sour belts and I found them at the candy store. I cut the long belts into smaller pieces (about 3" or so), formed them into an arc and stuck the ends into the frosting to look like a rainbow.
Then I piped a small amount of the reserved, no-colored frosting at the base of each end of the rainbow to (1) prevent the candy from sliding in the frosting sky and (2) simulate the look of clouds. It worked great and looked fabulous! Lastly, I added cupcake toppers I made using the same freebie images (found HERE at Paper Glitter) that I had used for the goodie bags and paper cup stickers.
And... voila! I think they came out pretty darn cute if you ask me!


Visit the RACKS and Mooby Blog for more fun!